Creating a new engagement
Engagements can be created manually by a user with the appropriate permissions, typically an Engagement Manager or by integration with other third-party systems.
To manually create an engagement:
-
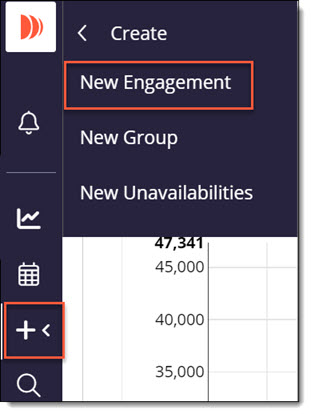
From the left-hand menu, select the + Create icon and then New Engagement.

The Create Engagement screen is displayed. -
Using the Yes/No radio buttons, select the appropriate setting for each:
-
Linking to an existing group gives you the ability to link this new engagement to a parent engagement group (assuming it has already been set up within Dayshape). If Yes is selected, you must locate and choose a group using the search field displayed.
-
A Remote Engagement Code (such as an Audit ID Code) is needed if Dayshape is integrated with a third-party system and you would like to reference this engagement there. If Yes is selected, you must locate and choose an Engagement Code using the search field displayed.
-
Rolling forward lets you reuse some data from a prior year engagement (very useful when complex engagements such as audit projects are repeated each year). If Yes is selected, you must locate and choose an engagement using the search field displayed. Check the information in the Details and Personnel tabs and edit as required. The Resourcing tab below, when rolling forward an engagement, allows you to decide whether you wish to copy the resources and bookings from the engagement that you are rolling forward. If you choose ‘Yes’, you are offered an additional option to decide how you would like the new bookings to be created. You can choose to create the new unassigned bookings:
-
as a copy of the original requested resources
-
as a request for the worker who was actually assigned the work
-
-
Using an existing engagement as a template pre-populates all of the information you would otherwise need to enter manually, allowing you to edit just the details that need to be different. If Yes is selected, you must locate and choose an existing job using the search field displayed. Check the information in the Details and Personnel tabs and edit as required.
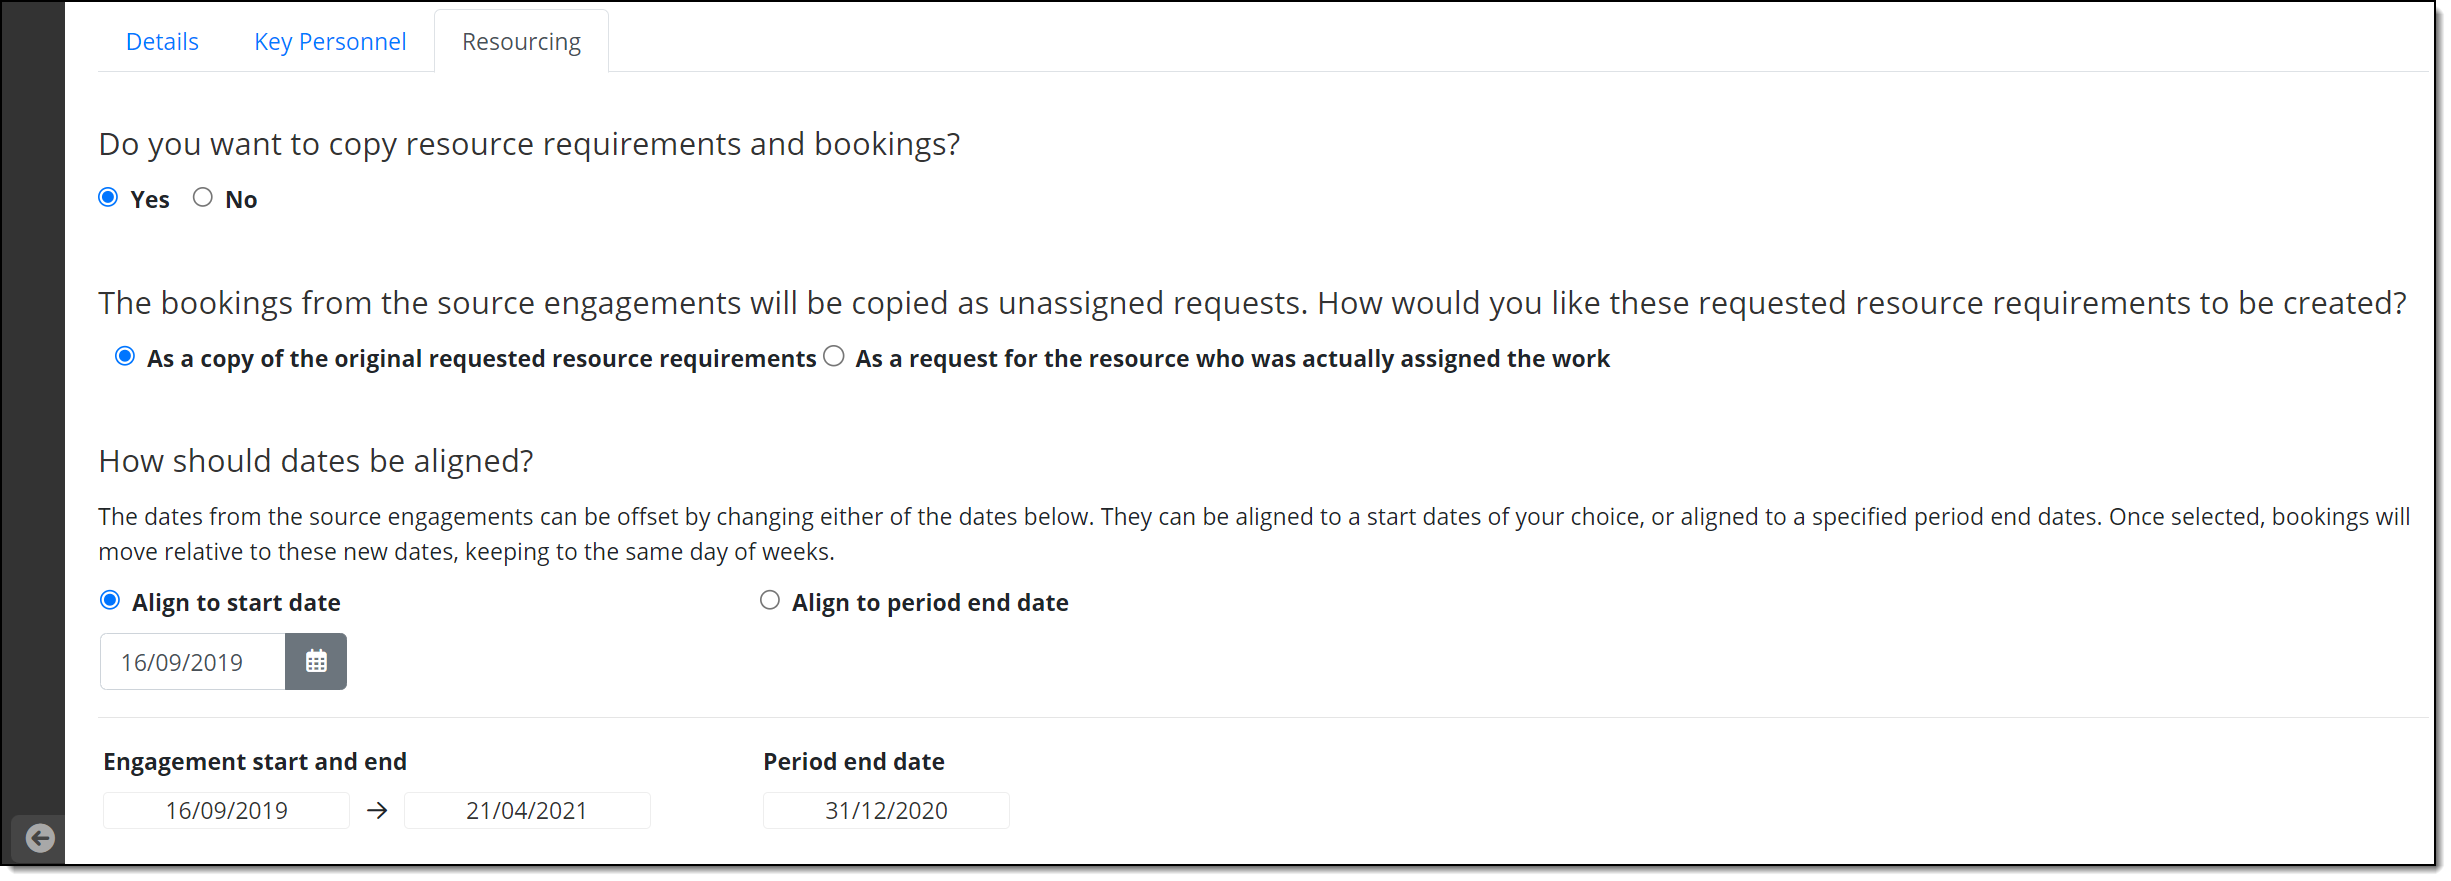
The Resourcing tab asks if you wish to copy the resources and bookings (as described above for roll forward), and how you want to copy the assigned resources from the original engagement.
The additional option for Engagement Copy is to define how dates should be aligned in the new engagement. This is required as the engagement copy function allows a new engagement to start at any point in time and is not limited to rolling forward by a whole year (as the roll forward function does). To give you greater flexibility, two options can be used for determining the relative dates of the bookings in the new engagement:
-
Align to start date: This option takes the earliest start date of the first booking in the engagement and aligns this booking with a date of your choosing. Once this has been set, all subsequent bookings are then offset from this start date.
-
Align to period end date: This option is only available when the template engagement has a period end date set in the engagement details. When available, we will take the period end date you select and shift all the bookings in the template engagement relative to this new period end date.
When either of the above options are selected, you will see the ‘Engagement Start and End’ dates live update to show you the date when the first booking starts and the last booking finishes. This provides a little more context on the range of bookings in the engagement.
-
-
Complete the relevant details in the Details fields (select ‘Details’ tab page).
Note: The Client field must contain an entry selected from existing clients already set up on the system. However, the Client Name and Client Identifier fields allow you to enter a name and identifier that you would like to associate with this engagement and this will be used for identification on this page and for reporting purposes.
-
Complete the relevant details in the ‘Key Personnel’ and ‘Resourcing’ tab pages.
-
Click Create Engagement.
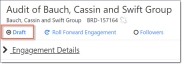
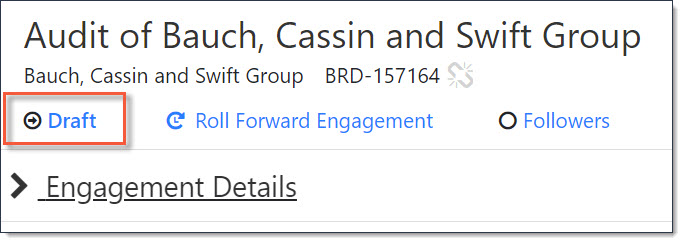
Your newly created engagement will open with the Economics and Team sections expanded.Your new engagement will be in the first state of your Engagement Workflow (e.g., ‘Draft’). This can be easily seen in the top left of the screen under the Engagement Name. When ready, you can click here to progress the engagement to the next step in your workflow.
-
Click Draft:
Using the default workflow, the next step after ‘Draft’ is ‘Send for Approval’. However, you may see other options depending on how the workflow has been configured for your business.